MXTMStudio
Browser-based · on-device For photographers —
digital and film

The photo studio
in your browser.

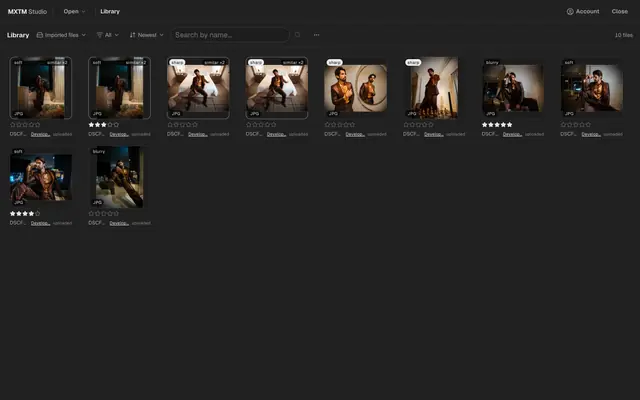
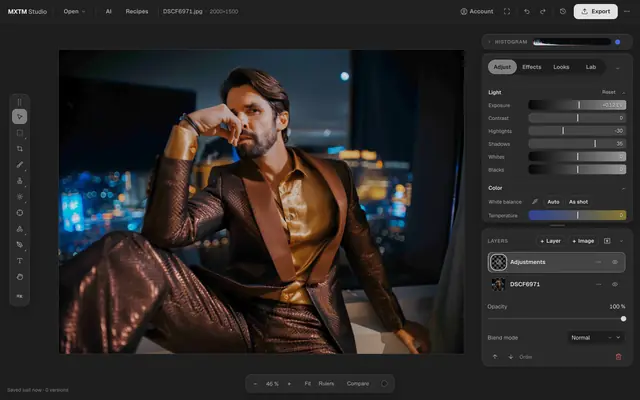
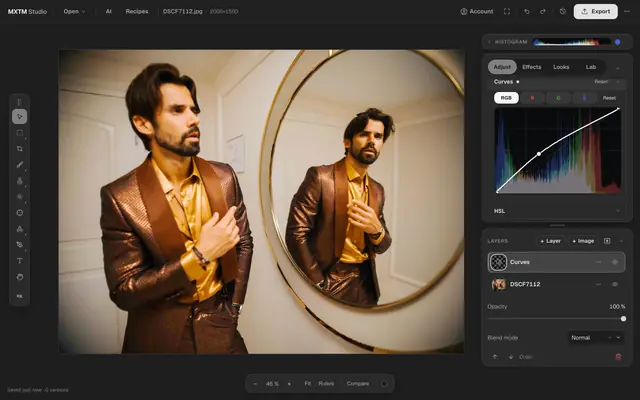
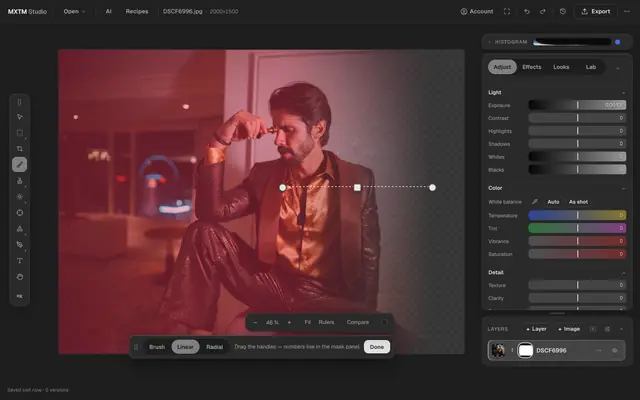
Layered RAW editing, on-device AI, a library that culls with you — and a film darkroom for your negative scans. No account, no upload, no watermark.

Open the studio Try the demo document

Drop an image to start editing

or click to browse · paste works too · JPG, PNG, WebP, HEIC, RAW

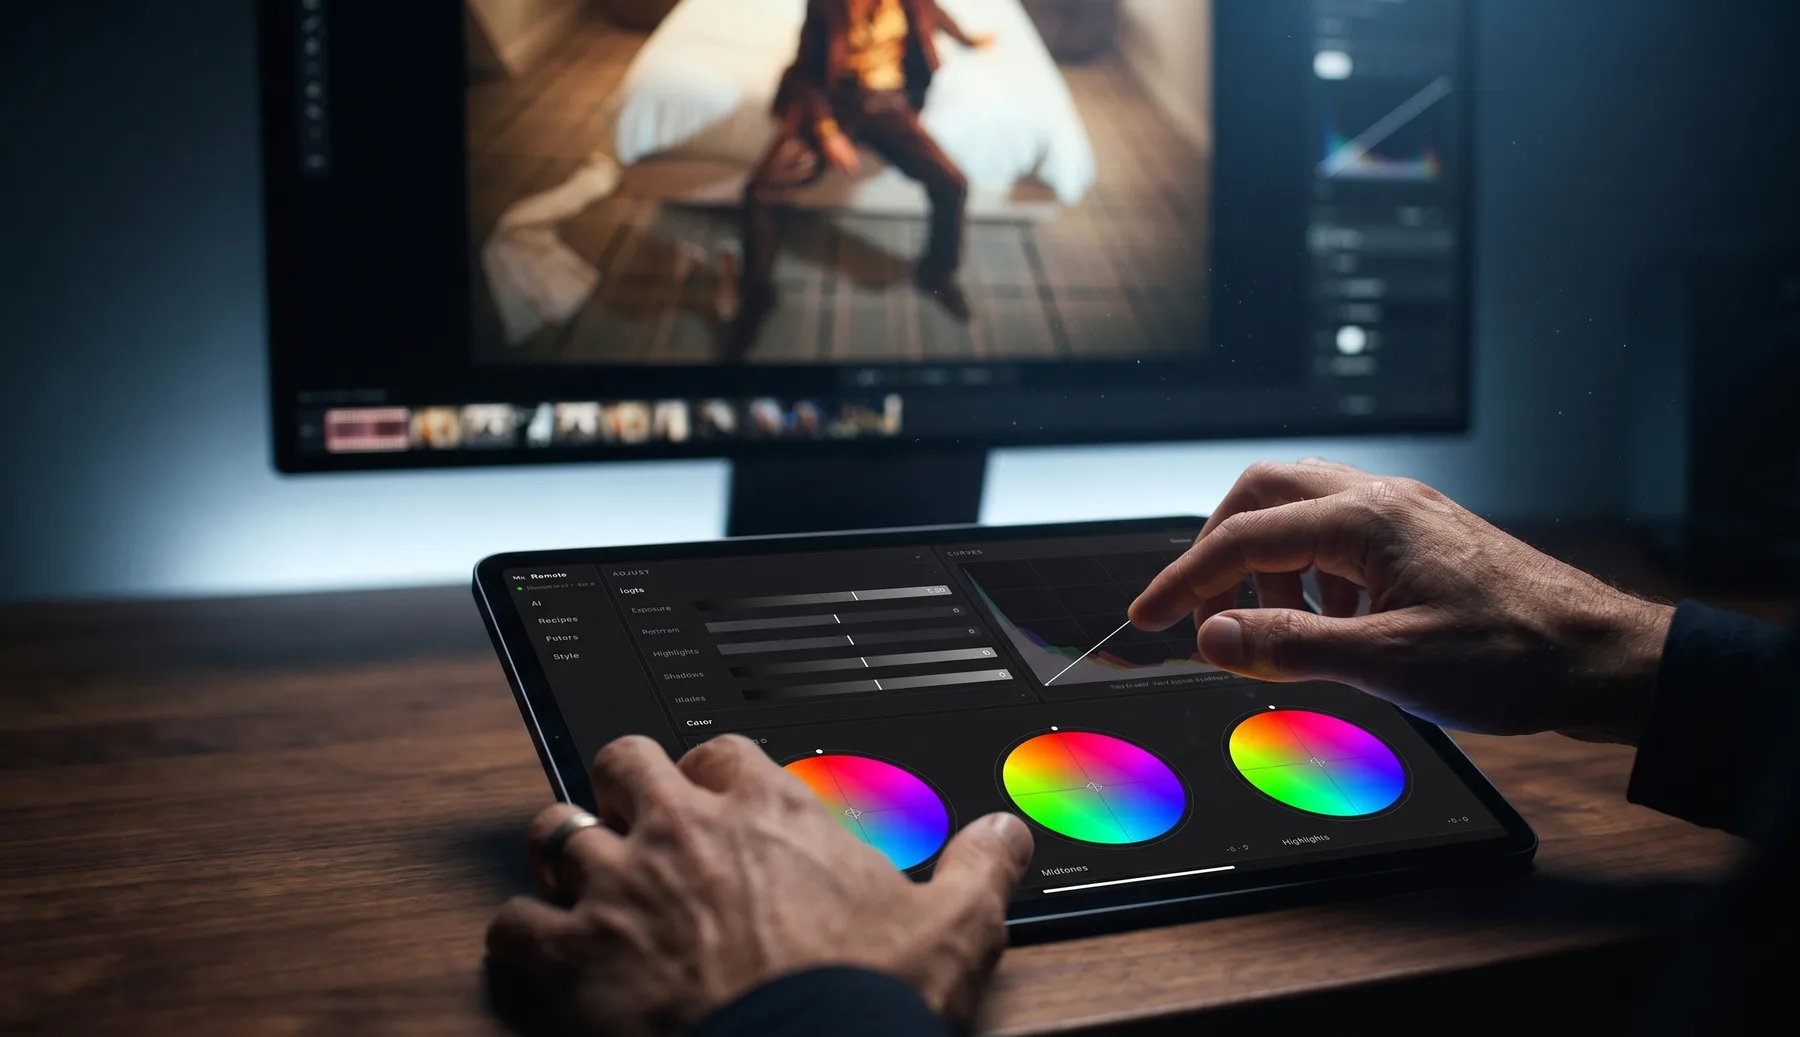
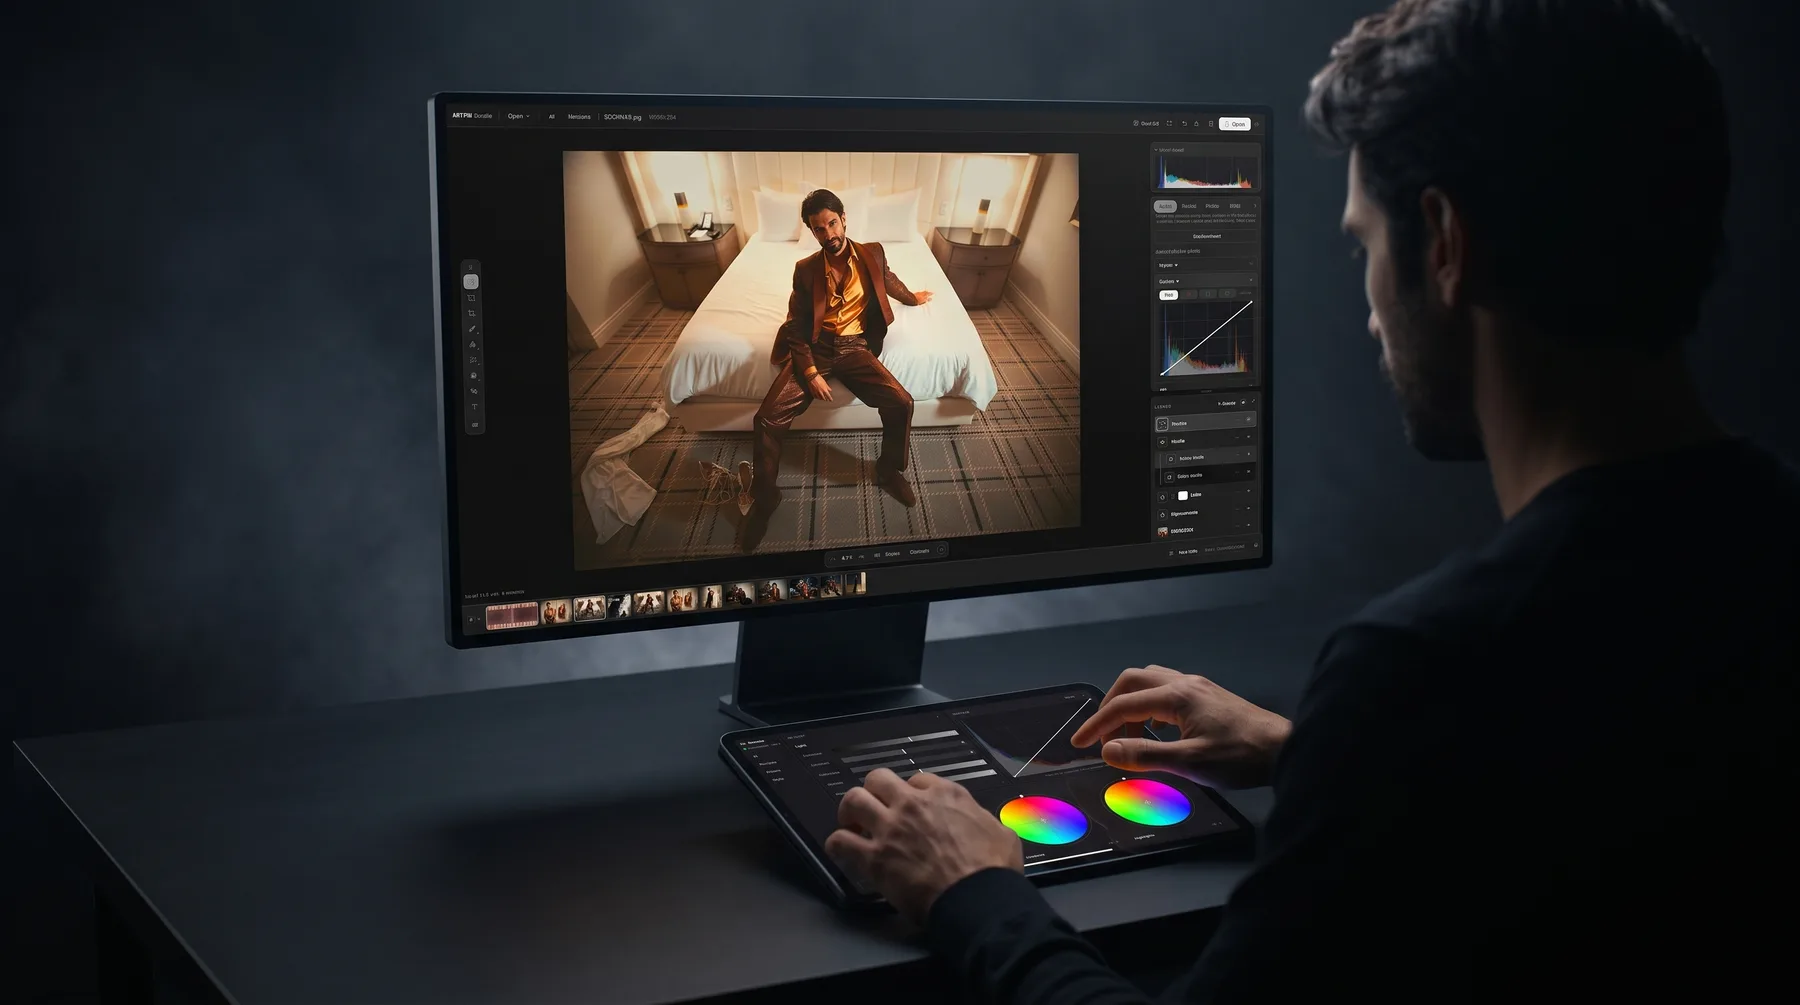
A photographer at a dark desk: the studio open on a large display, a tablet lying flat in front of him as its remote — both hands on the tablet's sliders and colour wheels.
One screen, one tablet · staged photograph · real screens below

In the studio today

Nothing below says coming soon.
It is all in the build you can open right now.

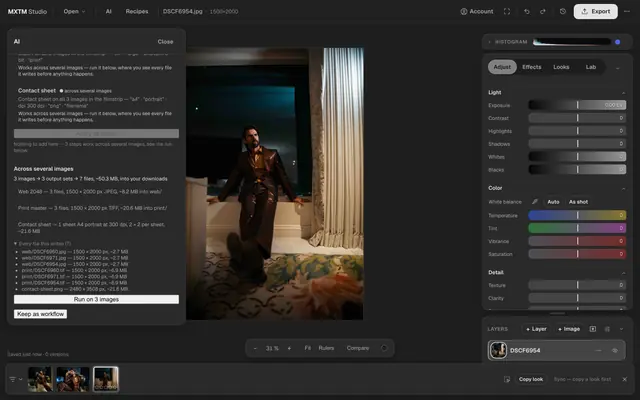
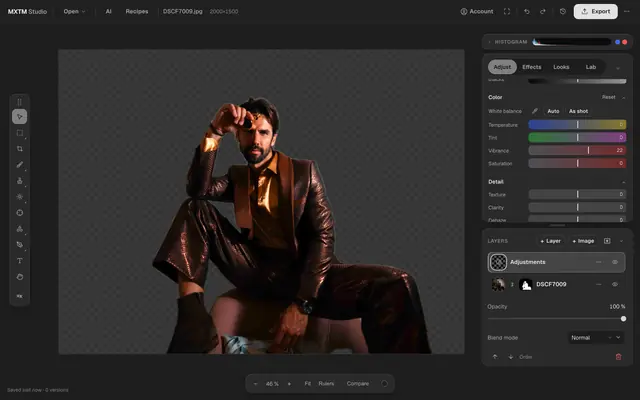
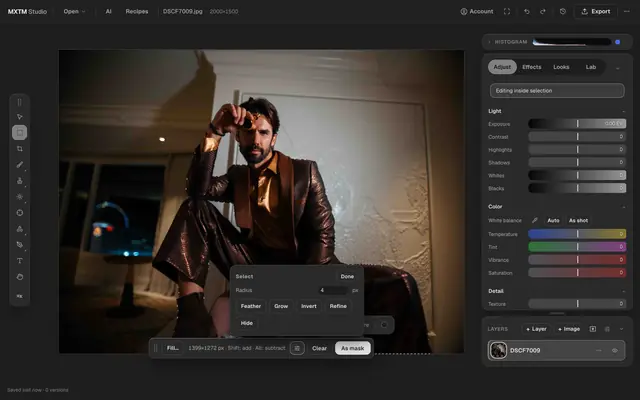
Photographers glue together five tools — a scanner app, a RAW developer, a retoucher, a resizer, a gallery. Every handoff bakes pixels and loses the source. MXTM Studio keeps one document with recipes instead.

Scroll through the day

One shoot, import to export —
every tool in the order you work.

The darkroom

Two stations of that day —
here is what stands behind them.

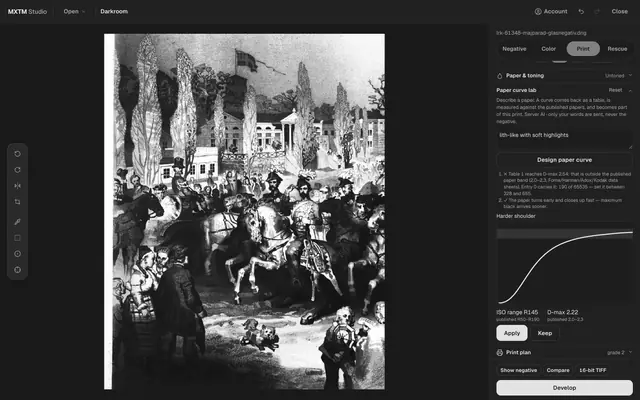
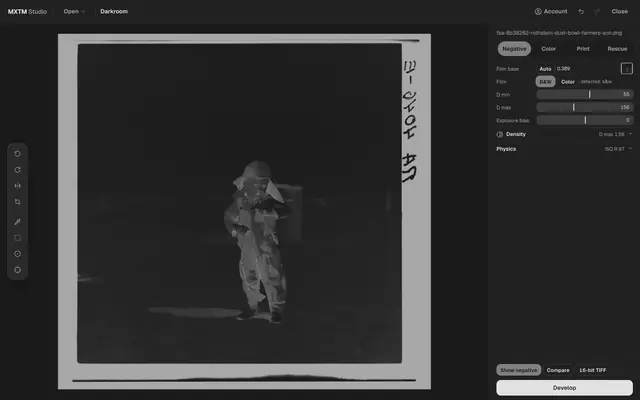
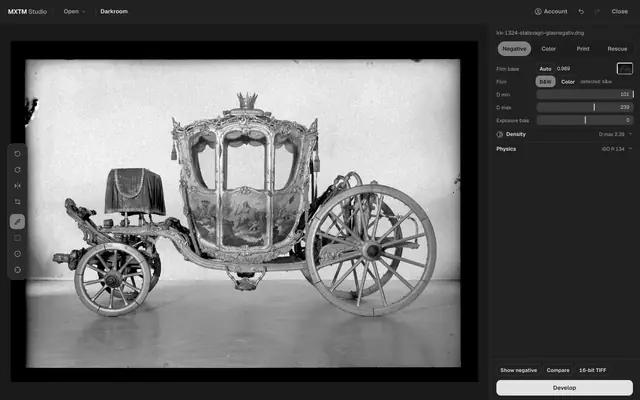
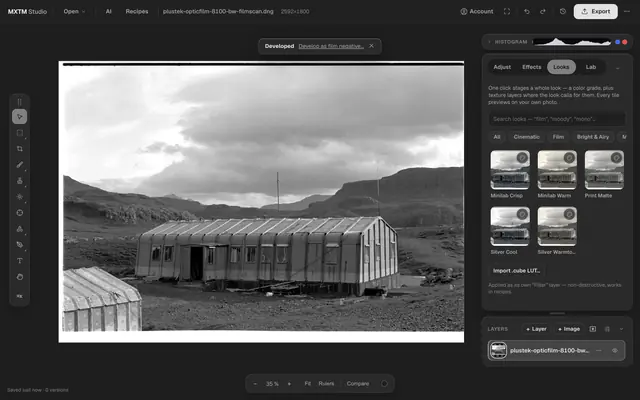
The darkroom is a mode of the studio, not a second app. It takes camera and film-scanner scans of negatives, measures the film base, and hands a positive to the editor. What follows is what it does between those two points — and every control below writes into the same recipe, so none of it is baked.

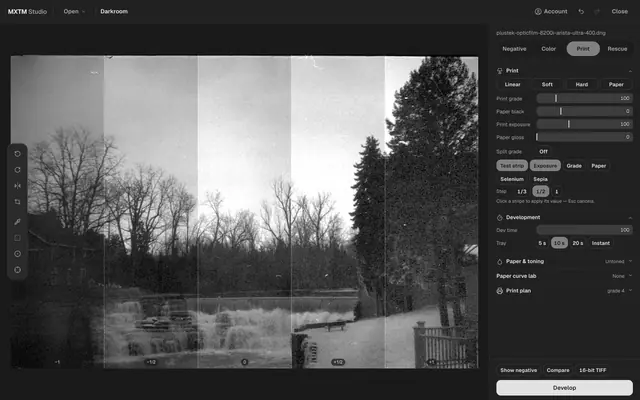
The MXTM Studio darkroom with the test strip open: the frame is fanned into vertical stripes of stepped print exposure, each stripe labelled with its value in stops, and the hint “Click a stripe to apply its value” below the Test strip button.
Test strip

Stripes with stepped values

Test strip fans the frame into stripes that step one print parameter — exposure in thirds, halves or whole stops, grade, or the four paper starting points. Every stripe is a full render of the same develop, and clicking one writes its value into the recipe.
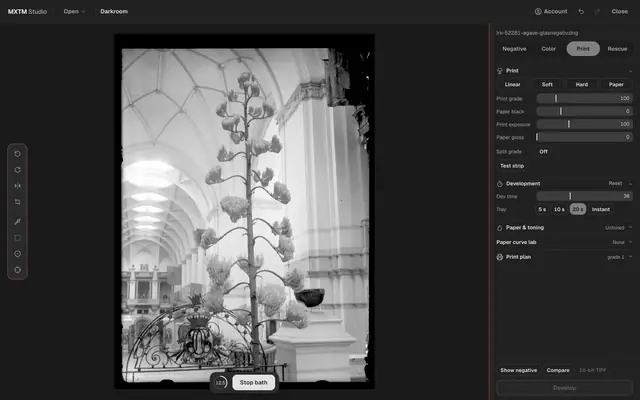
The MXTM Studio darkroom during development: the positive is emerging on the stage, a clock counts the seconds left in the tray, and the Stop bath button stands ready next to it.
The tray

Development has a duration

Develop runs for five, ten or twenty seconds instead of appearing at once: density builds along the time–gamma relation of sensitometry, dense parts first, highlight detail last. The stop bath freezes the moment as a Dev time value — and the slider still moves it afterwards.

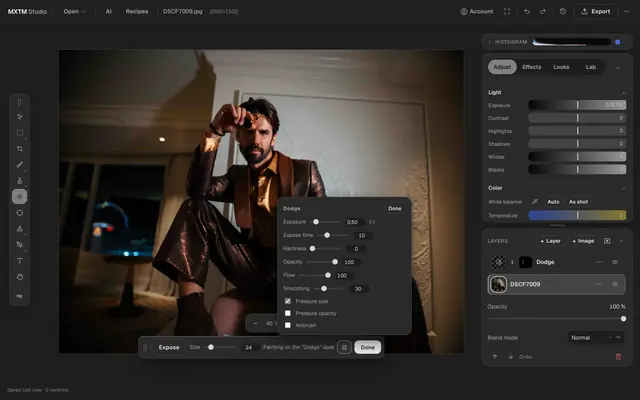
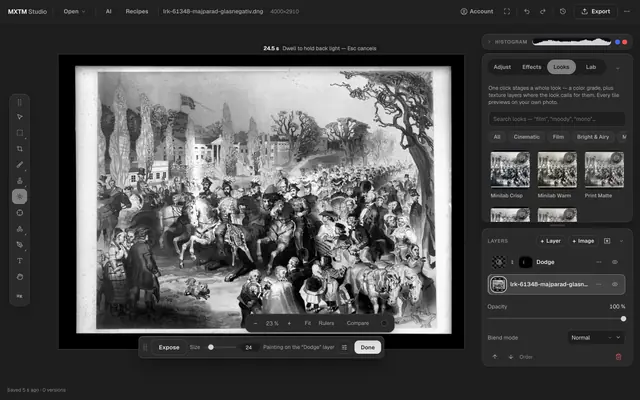
The MXTM Studio editor during an exposure: the countdown of the running exposure time is visible over the developed photo while the dodge brush is moved across it, with the Dodge layer already in the layer stack.
Expose

Dodge and burn under a running clock

On the developed photo the dodge and burn tools start a real exposure time. Move over an area while it runs and the coverage grows with the seconds you spend there; when the clock ends, the movement is handed over as one ordinary mask stroke — repaintable, stackable, one undo.

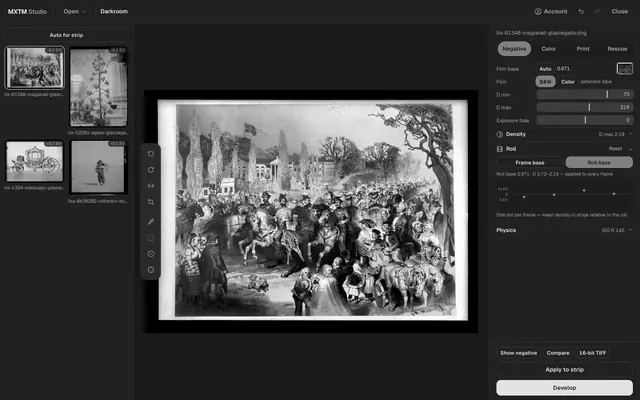
The roll panel of the MXTM Studio darkroom: “Roll base” selected, the combined film base and density range printed underneath, and a diagram with one dot per frame showing each frame’s deviation in stops.
The roll

The roll is the unit, not the frame

Roll base combines the statistics of every selected frame into one robust film base and applies it to the whole strip. The diagram carries one dot per frame — mean density in stops relative to the roll, with the ±1 stop line drawn in, so an underexposed frame is information instead of a surprise.

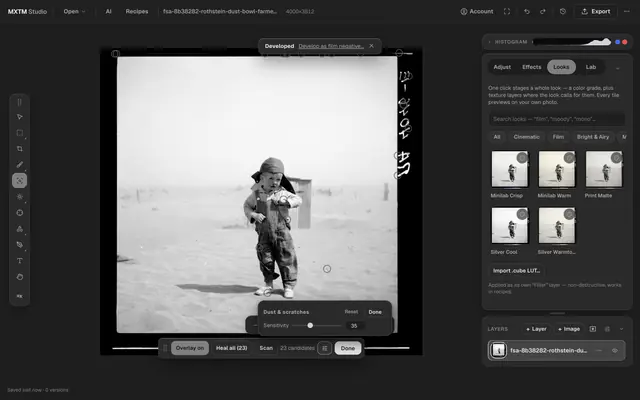
The MXTM Studio editor with the dust map switched on over a film scan: small markers sit on the detected dust and scratch candidates, next to the sensitivity slider, the candidate count and the “Heal all” button.
Rescue

Dust marked, never guessed away

A top-hat pass calibrated against the grain of your own scan proposes dust and scratch candidates and shows them as markers. Nothing is touched until you confirm — and each confirmed candidate becomes one ordinary heal stroke with its own undo.

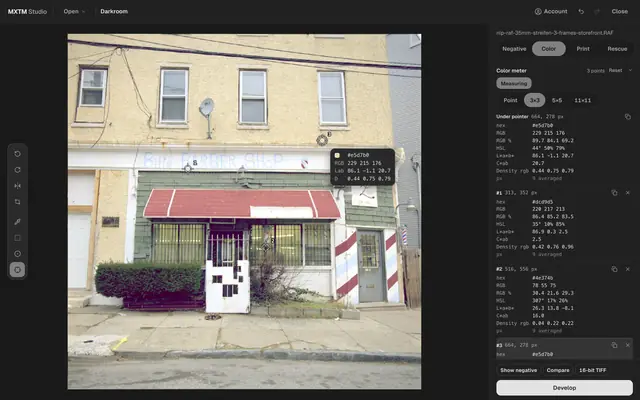
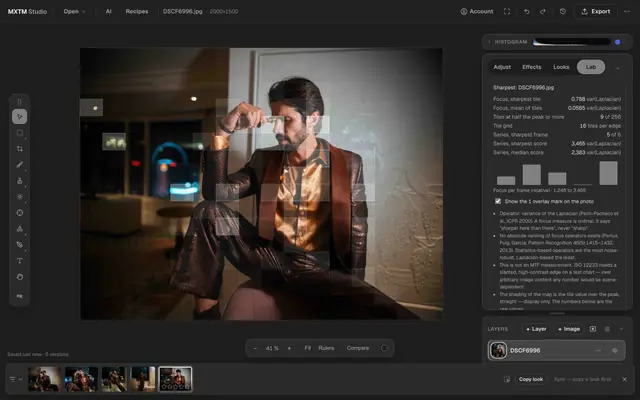
The colour meter in the MXTM Studio darkroom: fixed sample points sit on the stage and the panel lists each point with its hex value, L*a*b* reading and the density per channel.
Density

Measure the frame, then decide

The colour meter holds up to eight fixed sample points on the stage. Besides hex, RGB, HSL and L*a*b* it reads the density per channel from the linear scan, and every point follows the sliders live while you work.

One frame is always free — the single-image darkroom included. Working across a whole roll is what the license covers. See pricing

The Lab

Say what you want.
The studio builds it.

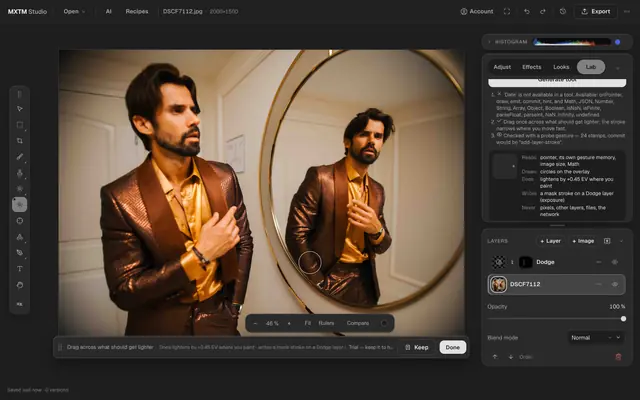
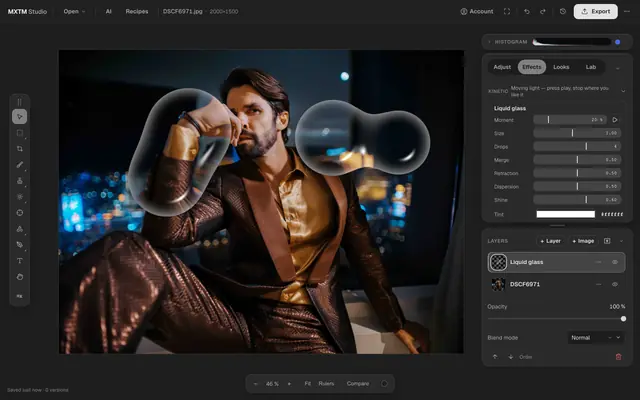
Effects, paper curves, tools, measurements, whole workflows — you describe them in your own words instead of hunting for them in menus.

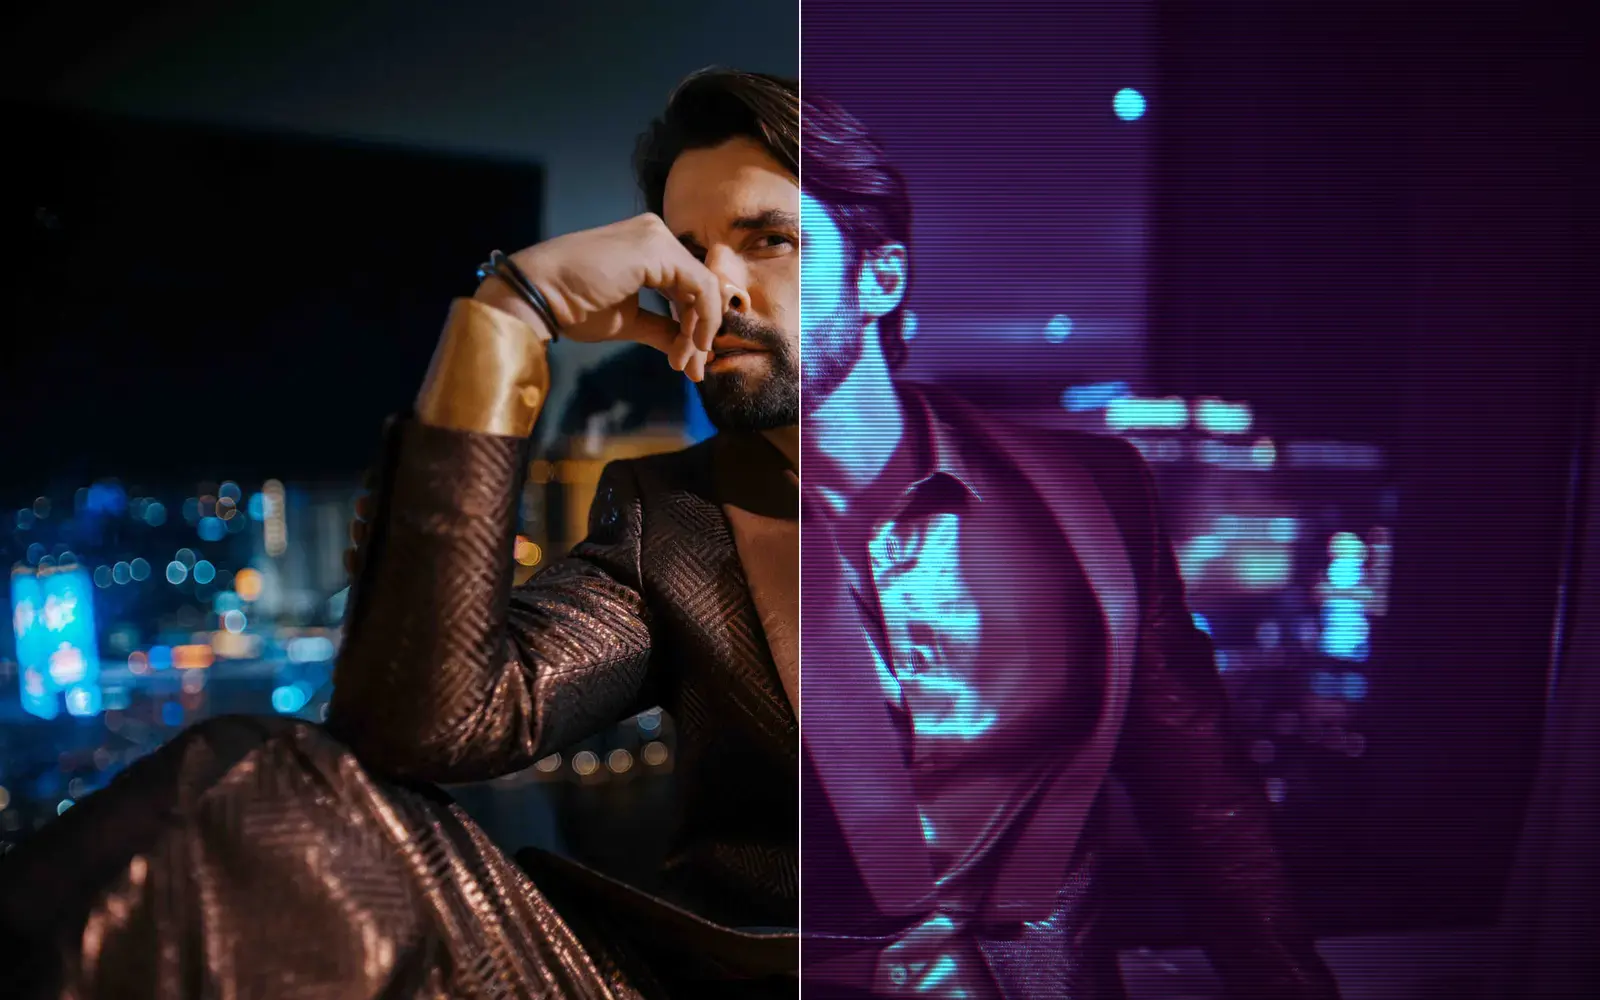
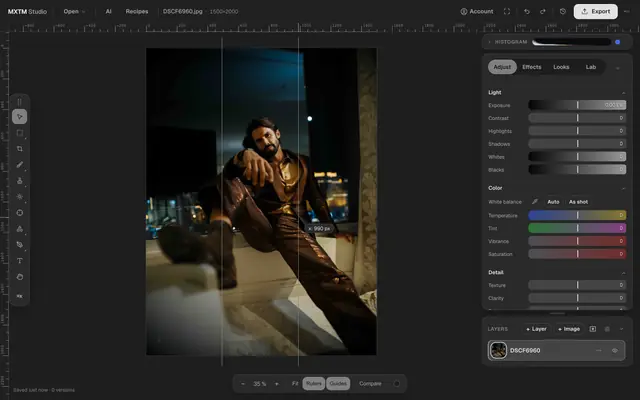
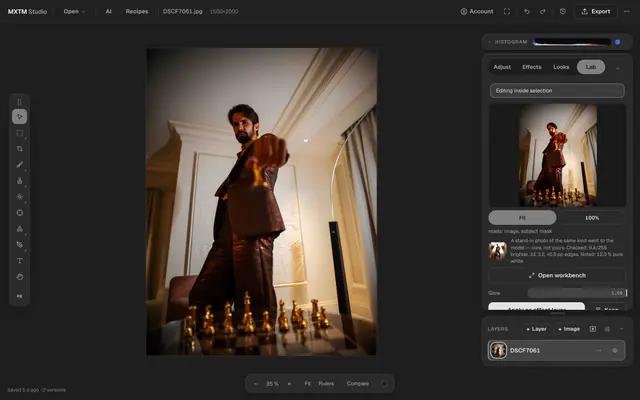
A man in a bronze suit and gold shirt sitting in front of a night window, city lights out of focus behind him — the sample photo the Lab effects run on. The same photo twice, split down the middle: on the left the untouched frame, on the right the same frame after the Lab's “synthwave scanlines, 80s retro” — magenta shadows, cyan highlights and fine horizontal lines.
You say

synthwave scanlines, 80s retro

Checked before it ever touches your photo.

Nothing here is a recording — without WebGL2 the still above stands in.

See what it wrote
GLSL ES 3.0 · written by the Lab
vec3 grade(vec3 c) {
  float lum = dot(c, vec3(0.299, 0.587, 0.114));
  vec3 duo = mix(uShadowColor, uHighlightColor, smoothstep(0.05, 0.95, lum));
  vec3 tinted = mix(c, duo * (0.4 + 1.2 * lum), uTint);
  // neon boost: push saturation and glow in the highlights
  vec3 boosted = tinted + tinted * tinted * uGlow;
  return boosted;
}

void mainImage(out vec4 fragColor, in vec2 fragCoord) {
  vec2 uv = fragCoord / uResolution;
  vec4 px = image(uv);

  // chromatic fringing, sized in real pixels
  vec2 shift = vec2(uShift * uImageScale, 0.0) / uResolution;
  vec3 col;
  col.r = image(uv + shift).r;
  col.g = px.g;
  col.b = image(uv - shift).b;

  col = grade(col);

  // scanlines as a fixed count across the image
  float phase = uv.y * uLines * 6.2831853;
  float line = 0.5 + 0.5 * sin(phase);
  line = pow(line, 1.5);
  col *= mix(1.0, 0.35 + 0.85 * line, uScan);

  // subtle horizontal beam wobble tied to the scanline pitch
  float mask = 0.5 + 0.5 * sin(uv.x * uLines * 2.0 * 6.2831853 + phase * 0.5);
  col *= mix(1.0, 0.9 + 0.1 * mask, uScan);

  // vignette
  vec2 d = uv - 0.5;
  float vig = 1.0 - dot(d, d) * 2.0 * uVignette;
  col *= clamp(vig, 0.0, 1.0);

  fragColor = vec4(col, px.a);
}
  1. 01

    You type what you want: “synthwave scanlines, 80s retro”.

  2. 02

    The studio writes the effect and gives it its own sliders.

  3. 03

    It is checked before it is ever allowed near your photo.

  4. 04

    It runs on a neutral test chart first, then on your picture.

  5. 05

    You keep it — it lands on your shelf and works on every photo after that.

The neutral test chart: colour bars, a grey ramp, a skin-tone disc and a band of fine stripes. Only your words leave your computer — never the photo.
Every effect you keep is yours and runs on your device. 0 kept

    Writing a new one is the only step that uses a server and costs credits; it is switched on per deployment, and on this page it is off.

    Remote

    Two hands on glass,
    the picture on the big screen.

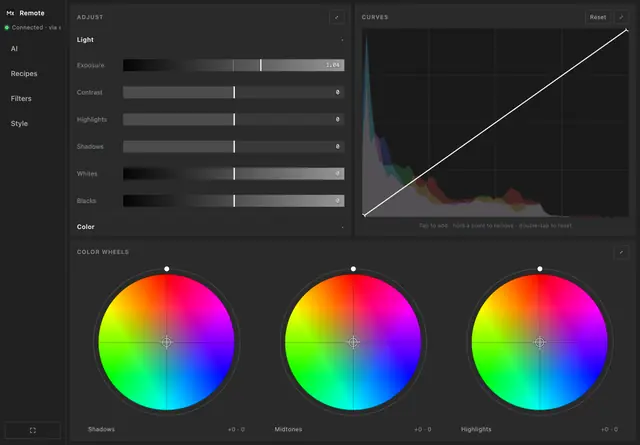
    Scan a code on your computer and your phone or tablet becomes the control surface: sliders, the tone curve and three colour wheels. Only the handshake goes through our server — after that the two devices talk directly, and your photos never leave the computer they are on.

    Two hands on a tablet lying flat on a desk: the remote with its light sliders, the tone curve and three colour wheels; on the display behind it the same photo open in the studio.
    Tablet as the control surface · staged photograph

    The problem

    Your pipeline breaks
    five times.

    Each break is a place where the source is lost and the work restarts. All five are answered in the studio today — in one document, from scan to print.

    On your device

    Your files stay yours — because they never leave.

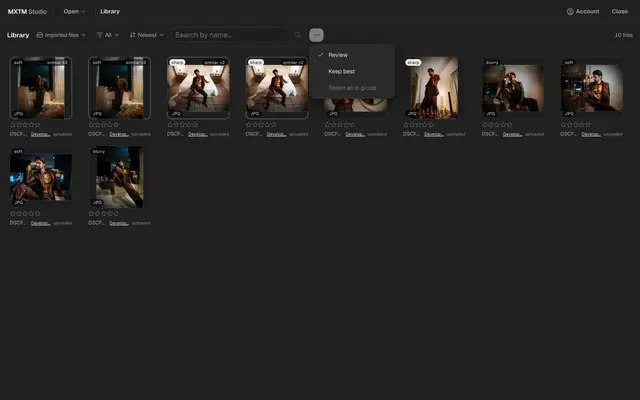
    Background removal, subject selection, upscaling, depth tools, denoise, culling and the 16-bit darkroom develop run locally. Exactly two features use a server — Restore and Generative fill — and both say so before you click.

    Pricing

    Fair by construction.

    Everything on-device is free forever. One line divides Free from the license: the single frame is free, the roll is licensed — and there is no subscription anywhere.

    Free

    €0

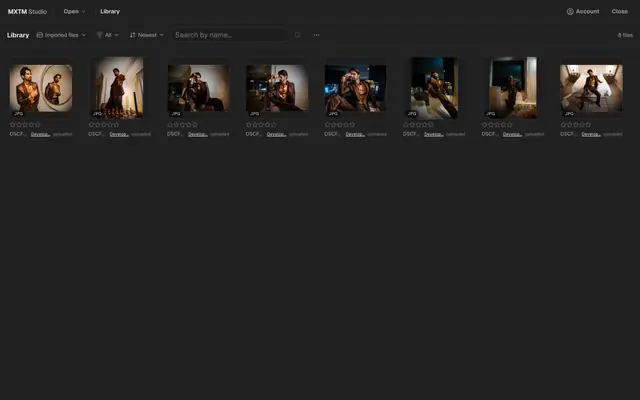
    The full studio for every single image: editing, the film darkroom, layers and masks, retouch, library, culling and search — full resolution, unlimited files, no watermark, no account.

    License

    €99 once

    €59 for the first 100

    One purchase buys the roll: roll base, apply to strip, strip auto white balance and multi-image session files. Lifetime access, 12 months of updates included — extending updates later is €49/year and always optional.

    Credits

    20 · €2.99

    100 · €9.99

    Pay as you go for the two server features. Credits never expire, and failed generations cost nothing. The license never covers cloud AI — one payment cannot promise unlimited server work.

    The full pricing page →

    FAQ

    Do you need more information? Here you will find answers to the questions we hear most often.

    01 Does my material get uploaded?

    No. Editing, masks, RAW develop, the darkroom and culling run on your device. Exactly two features use a server — Restore and Generative fill — both say so before you click, and your image is only passed through, never stored.

    02 Which files can I open?

    JPG, PNG, WebP, HEIC, PSD and 24 camera RAW formats — including camera and film-scanner scans of negatives, which the darkroom develops. Projects travel as .eis files.

    03 Do I need an account?

    Not to edit. The studio runs without sign-up and your files never need one. An account only carries names, notes and pointers when you organise work by client and project.

    04 What happens if my browser crashes?

    Edits are journaled on your device while you work. After a crash or reload, the studio restores your session with its history — nothing is baked, so nothing is lost.

    05 Can I use my own LUTs, fonts and colors?

    Yes. Load .cube LUTs, use fonts installed on your machine, and keep your own colors and logo in the built-in kit for watermarks and text.

    06 Which browsers work?

    The studio targets desktop Chromium browsers (Chrome, Edge). Linking a local folder is Chromium-only. The desktop is the first-class home — we only claim what we have verified.

    Open the studio.
    Bring a folder.

    No sign-up. Your first edit is 60 seconds away.

    Open MXTM Studio Try the demo document